

Florida saltwater corrosion: how to protect your boat
In this article
Salt water conducts electricity, so the metals on a boat slowly corrode, and Florida's warm water, year-round boating and brackish lagoons keep that going all year. Four habits stop most of it: flush the engine with fresh water after every saltwater trip (15 minutes on a Yamaha), check anodes often and replace them at about half gone, rinse and protect hardware and electrical connections after each trip, and have a marine technician do a yearly corrosion inspection to catch what you can't see.
Whether your boat lives on Tampa Bay, the Indian River, off New Smyrna or in the Keys, the chemistry is the same and so is the fix. This guide explains what salt water does to a boat, the kinds of corrosion you'll meet, how to flush an outboard, how to pick and look after anodes, what changes on shore power, and which jobs belong in a shop. Engine steps come from Yamaha's published guidance; check your own owner's manual.
What does saltwater do to a boat?
Salt water is an electrolyte: a liquid that conducts electricity. When two different metals are immersed in an electrolyte and connected, by touching or through a wire, they form a galvanic cell. Electrons flow from the less noble metal to the more noble one, and the less noble metal corrodes. A boat has that setup everywhere: a stainless prop on an aluminum lower unit, bronze through-hulls, aluminum trim tabs, steel trailer parts. Every one of those pairings is a tiny battery, and the weaker metal pays.
Florida keeps that reaction running harder and longer. The water is salty and warm, and warm water speeds up chemical reactions. There's no winter layup, so the clock never stops. And many Central Florida boats live in brackish water, in the Indian River Lagoon, Mosquito Lagoon and the rivers that feed them, which changes which anode metal works best (more on that below). Add humid air that keeps salt spray damp on every surface, and corrosion becomes a weekly maintenance job rather than an annual one.
It isn't only the hull and engine. Salt left inside the cooling passages of an outboard can crystallize when heated above 170 degrees, forming deposits that restrict cooling water. Salt film on wiring and terminals under the console pulls in moisture and turns connections green.
What types of corrosion will you see, and why is aluminum most at risk?
| Type | What it looks like | How to prevent it |
|---|---|---|
| General (surface) | Tea-colored spots on stainless, white powder or pitting on bare aluminum | Rinse, dry and coat exposed metal |
| Galvanic | Two different metals connected in salt water: the less noble one (often aluminum) gets eaten | Sacrificial anodes, good bonding, a galvanic isolator on shore power |
| Crevice | Hidden under washers, in pin holes and between parts; you see it when a fastener fails | Keep water from sitting, use anti-seize, check fasteners at service |
| Dry (exhaust) | Inside hot exhaust parts, from sulfate salts formed when ethanol fuel burns | Flush the cooling system after every trip |
Sources: galvanic, BoatUS; dry corrosion, Yamaha.
Galvanic corrosion is the expensive one, because it attacks underwater parts you can't see. An aluminum drive connected to copper or bronze is one of the worst pairings, which is why a bronze fitting or the wrong replacement part near an aluminum lower unit can do damage fast. Crevice corrosion is the sneaky one: a stainless bolt can look fine at the head while it corrodes in the wet, oxygen-starved space under the washer.
Dry corrosion surprises owners who think corrosion only happens in the water. Burning ethanol-blended fuel creates sulfate salts that are highly corrosive at high temperatures, and dirty or salt-clogged cooling passages create hot spots inside exhaust parts where those salts concentrate. Regular flushing is the defense.
Aluminum takes most of the damage because it's one of the most active metals aboard, so in a galvanic pairing it's usually the one that corrodes. It's in lower units and midsections, trim tabs, T-top frames, transducer brackets and trailer frames. The costliest failure is the lower unit, which sits in salt water every run; a lower unit costs far more than a set of anodes. When you add accessories, ask what the parts are made of and how they're isolated: a stainless screw driven straight into an aluminum bracket is exactly the pairing that seizes. Above the waterline, catch trouble while it's white powder or bubbling paint, not holes.
How do you flush an outboard after saltwater?
If you do one thing on this list, do this. Flush an outboard after every use in salt or dirty water: flushing removes salt buildup that can cause poor cooling and corrosion of the engine block and midsection. Hosing off the outside isn't flushing. There are three methods, and your owner's manual says which your engine supports.
- Built-in flush attachment (engine off).Connect a garden hose to the flush fitting, usually near the lower rear cowling. Do not run the engine. Turn the water on full and let it run 15 minutes. It works on a lift, a trailer or in the water, best with the engine trimmed up so the gearcase is clear.
- Flush muffs (engine running, single-inlet engines).Remove the propeller first. Slide the muffs over the water inlets, turn the water on until it squirts from the sides, then start the engine in neutral and run it at idle only for 15 minutes. Engines with two inlets per side need a special adapter.
- Flush bag (engine running).Fit the bag under the lower unit and fill it so the water is about an inch above the lower-unit seam. Start the engine, run 15 minutes in neutral with the hose still running, then stop the engine, then the hose.
- Finish up.Tilt the engine down to drain, rinse the outside of the engine and check that the cooling-water inlet screens are clear.
Never run an outboard without cooling water. Turn the water on before you start the engine and off after you stop it, and don't rev the engine on flush muffs.
Which method is best? There's no single best one: the flush attachment is easiest for a boat on a lift or in the water, and the bag suits engines with several inlets per side. Yamaha's testing found no clear benefit to flushing with the engine running. The habit matters more than the method.
Which anodes should a Florida boat use, and when do you replace them?
Anodes are blocks of a more active metal attached to the boat so they corrode instead of the parts you care about. You can't stop galvanic corrosion, but you can choose what it eats. An anode's surface area sets how much protection it gives, and its weight sets how long that protection lasts. On Yamaha outboards, anodes usually sit on the lower unit just above the prop and on the bottom of the engine bracket; boats also carry them on trim tabs and some fittings.
| Anode | Use it in | Notes |
|---|---|---|
| Aluminum | Salt and brackish water | The choice for salt and brackish water. |
| Zinc | Salt water only | Brackish water can coat zinc so it stops working. |
| Magnesium | Fresh water | The most active metal; don't mix it with zinc or aluminum. |
Sources: anode maker Martyr Anodes and BoatUS. Use the anode type your engine maker specifies.
The brackish row matters in Central Florida. A boat kept in the Indian River Lagoon or Mosquito Lagoon sits in water that's neither fully salt nor fresh, and brackish water can form a hard coating on zinc anodes that stops them working, which is why aluminum anodes are recommended for salt and brackish use. An anode that looks nearly new after a season isn't always good news. It may simply have stopped protecting anything.
- Replace at about half gone. Replace anodes when they're about 50% gone, with factory-recommended parts.
- Never paint them. Anodes must touch the water to work. Brush off the thin film of growth during washdowns.
- Keep the contact clean and tight. Paint, corrosion or a loose fit between anode and mount can stop protection completely.
- Don't mix metals. On a boat with magnesium plus zinc or aluminum, the magnesium does all the work and can disappear in weeks in salt water.
- Watch for overprotection. Too much anode can show up as paint lifting around metal fittings and a chalky white crust on props and shafts.
Why do boats on shore power corrode faster?
If your boat lives at a marina slip and plugs in, it has a corrosion path most trailer boats don't. The shore-power cord's green ground wire connects your boat to the marina's power system and to every other boat plugged in. If a neighbor's boat has poor anode protection, your boat's anodes and underwater metals can end up protecting theirs. A classic example is an aluminum sterndrive acting as a giant sacrificial anode for the boat next door.
The usual fix is a galvanic isolator, a device wired into the green ground wire that blocks the low-voltage DC current behind galvanic corrosion while keeping the safety ground connected. Choose a UL marine-rated, fail-safe unit sized to your shore-power circuit, typically 30 or 50 amps. An isolation transformer gives the most complete protection but is heavier and costlier.
Never cut the green ground wire to stop corrosion. Without it, an AC fault could energize the boat or the water around it, with deadly results.
Warning signs: anodes that disappear much faster than they used to, new pitting on underwater metal, or paint lifting around fittings. Have a technician check the bonding and shore-power setup rather than just adding more anodes.
How should you rinse and protect the rest of the boat?
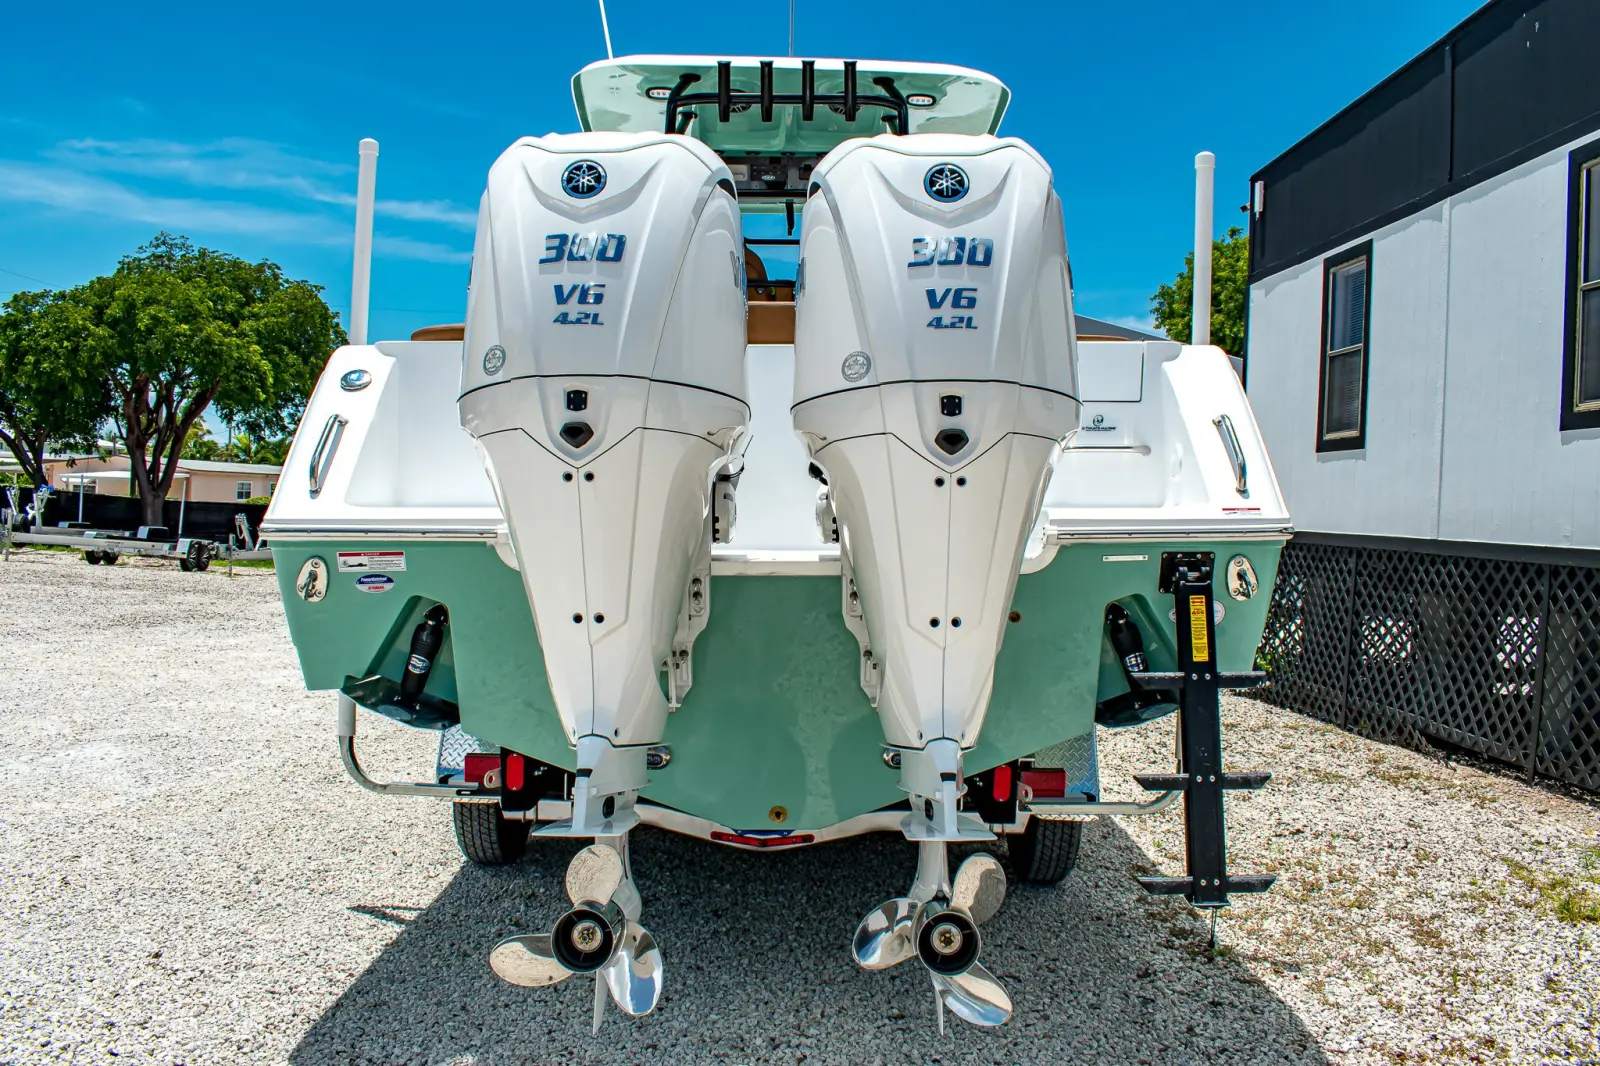
The routine after every saltwater trip is simple: rinse the outside of the outboard with clean water, wash it with a mild marine soap and a soft cloth, and wash the whole boat and trailer. Don't use liquid dish detergent. If salt has built up under the cowling, you can gently rinse parts of the powerhead on low pressure, not a spray nozzle, avoiding the air intake, and let everything air-dry before the cowling goes back on.
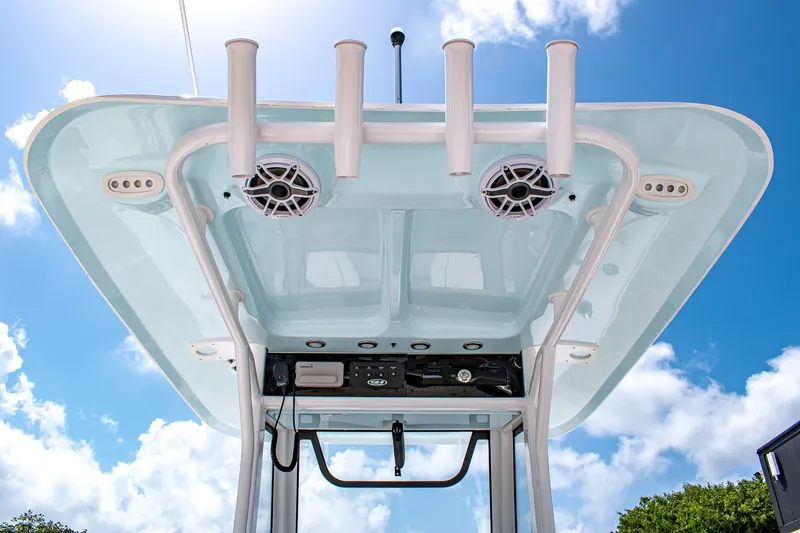
Then protect what you rinsed. Spray external powerhead surfaces and electrical connections with a corrosion-preventive spray, and check under the console and in the bilge for corrosion on electrical connections; clean and coat corroded battery terminals. On the rest of the boat, give the same attention to the places salt hides: T-top frames and their deck mounts, stainless rails and cleats, hinge pins, steering and trim-tab fittings, and the backs of switch panels.
Don't skip the trailer. It goes completely under salt water at every launch, then dries with salt in its hubs, springs and brakes, so rinse it thoroughly every time, brakes included.
What should you do after every saltwater trip?
Every saltwater trip
For weekly, monthly and yearly checks, follow the schedule in our Sea Hunt routine maintenance guide and your engine's manual.
When can you do it yourself, and when do you need a shop?
Flushing, rinsing, washing, brushing and checking anodes, spraying inhibitor on hardware you can reach, and keeping the bilge dry.
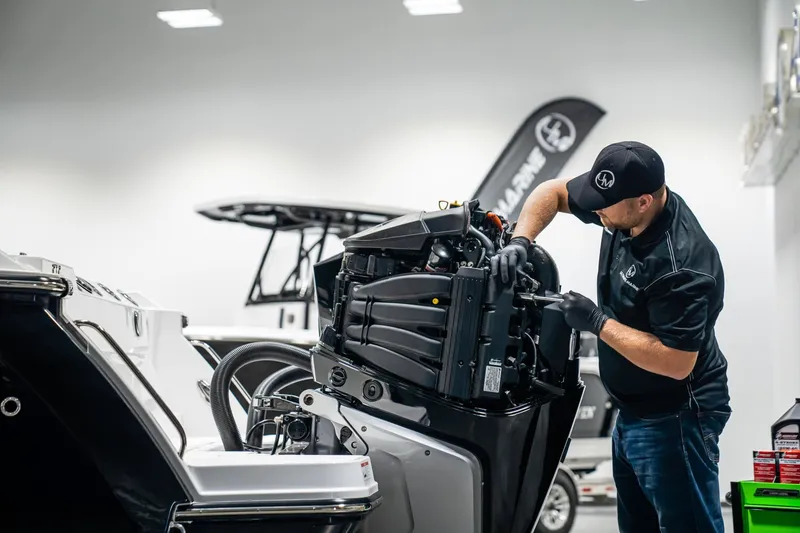
Internal engine anodes, lower unit service, bonding and galvanic testing, shore-power and isolator work, and anything behind covers, gaskets or seals.
Stop and call when anodes vanish in weeks, the lower unit shows pitting, the cooling stream is weak after a flush, or green corrosion spreads along wiring. Shore-power work is a shock hazard as well as a corrosion problem, so it always belongs to a technician.
Book your saltwater service
Our factory-trained technicians can inspect anodes, the lower unit and the electrical system, and catch corrosion before it turns into a repair.
Questions we hear
How often should I flush my boat engine after saltwater?
After every saltwater trip. Flush after every use in salt or dirty water, for 15 minutes with a Yamaha flush attachment, flush muffs or a flush bag. Use the built-in attachment with the engine off; muffs and bags need the engine running at idle in neutral, with water on before you start. Check your owner's manual for your engine's method.
When should I replace the anodes on my outboard?
When they're about half gone. Replace anodes at about 50% consumed, with factory-recommended replacements. Check them after every saltwater trip and brush off growth during washdowns. Never paint an anode, since it must touch the water to work. If an anode looks untouched after a season in brackish water, it may have stopped working rather than lasting well.
Should I use zinc or aluminum anodes in Florida?
For salt and brackish water, aluminum. Anode maker Martyr Anodes recommends aluminum for salt and brackish environments and zinc for saltwater only, since brackish water can coat zinc so it stops protecting. That matters for boats kept in the Indian River or Mosquito Lagoon. Magnesium is for fresh water, and you shouldn't mix it with zinc or aluminum. Always follow the anode type your engine maker specifies.
Do I need a galvanic isolator on my boat?
If your boat has an AC system and plugs into shore power at a dock, it likely needs one. The shore-power green ground wire links your boat to every other boat on the dock, so a neighbor's poorly protected boat can drain your anodes and attack your underwater metal. A galvanic isolator blocks that low-voltage current while keeping the safety ground connected. Never cut the green wire instead.
Do trailered boats need less corrosion protection?
No. Slipped boats sit in salt water constantly, while trailered boats go through wet-dry cycles, and the trailer itself is fully dunked at every launch. Both need the same habits: flush the engine, rinse and wash the boat and trailer, protect bare metal and connections, and check anodes. Trailered boats avoid shore-power galvanic problems, but their hubs, brakes and springs need rinsing after every saltwater launch.
Sources
- Yamaha Outboards, Freshwater flushing adds years to the life of an outboard.
- Yamaha Outboards, Corrosion prevention.
- BoatUS, Install a galvanic isolator.
- BoatUS, Types of marine corrosion.
- Martyr Anodes, Marine anodes explained.